6 Summer Science Activities for Early Learners
These simple science activities can be created with recycled materials from around the house and have educational benefits, too! Enjoy exploring science topics while incorporating math and art concepts.
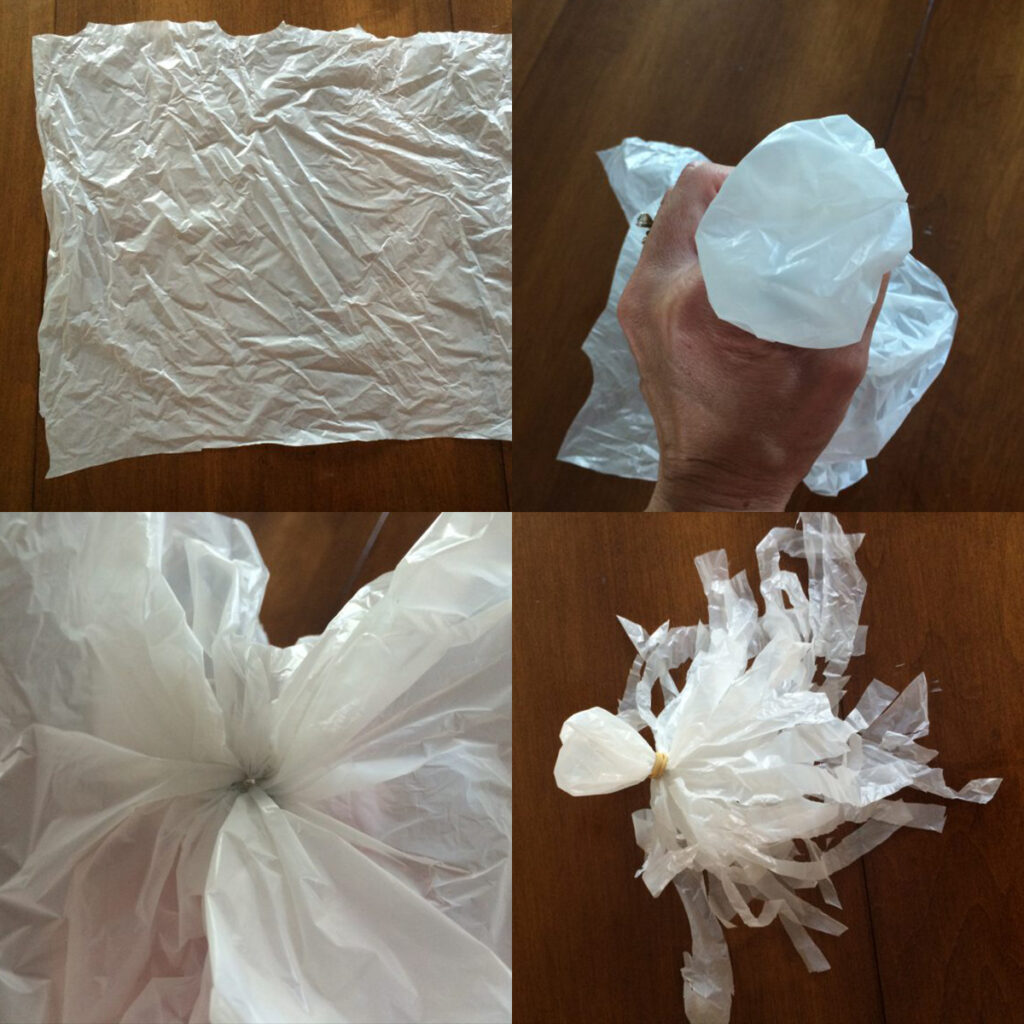
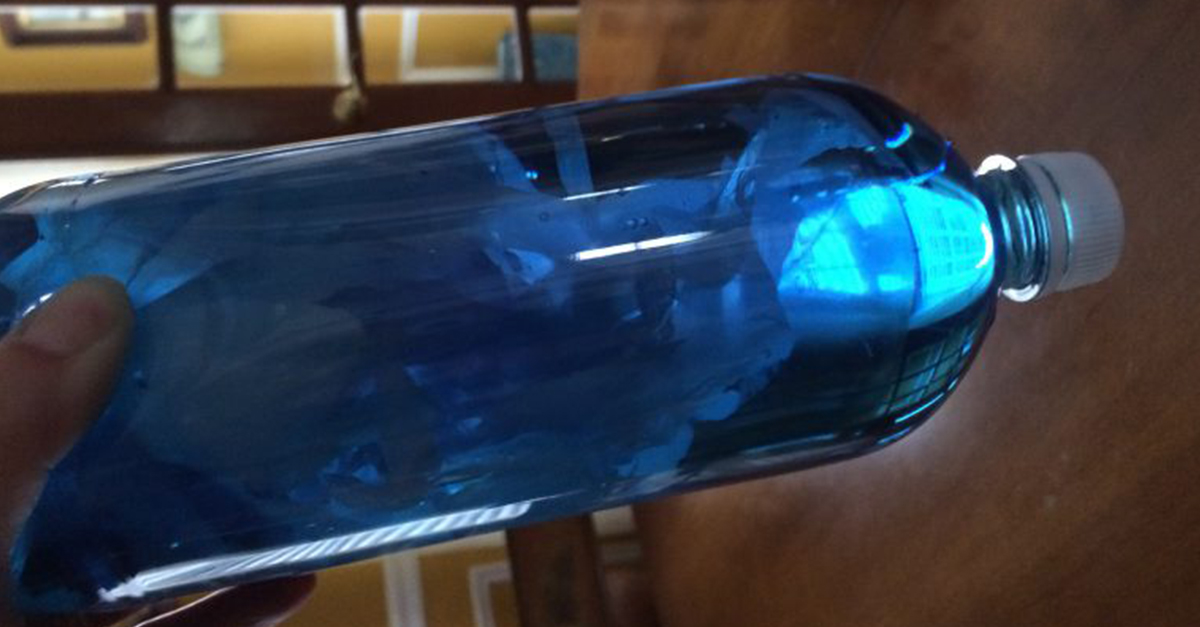
Jellyfish in a Bottle
An Easy Plastic Bottle Craft
Make your own jellyfish using a recycled plastic bottle and other items from the kitchen.
Focus: Art
Materials
- Empty clear plastic bottle with lid (label removed)
- 1 white plastic grocery bag
- Scissors
- Thread or small rubber band
- Water
- Food coloring
- Hot glue
Directions
- Cut the handles and bottom off the plastic grocery bag.
- Cut the sides of the bag so you have the two halves—the back and the front sides. Discard the side with the logo.
- Lift and pinch the center of the bag and make a small bubble.
- Tie off the bubble loosely with the thread or rubber band so a small opening remains. Turn it over and be certain you can see a small opening. This is the “head” of the jellyfish.
- Cut the part of the bag hanging down into strands to make the tentacles. Cut the strands so that there are various lengths and widths.
- Fill the bottle almost to the top with water.
- Add a few drops of blue food coloring.
- Turn the jellyfish over. Blow into the small opening to fill with air, then fill about halfway with water.
- Twist the head closed and stuff the jellyfish into the bottle.
- Hot glue the lid onto the bottle.
- Turn the bottle upside down and then right side up to watch the jellyfish swim.
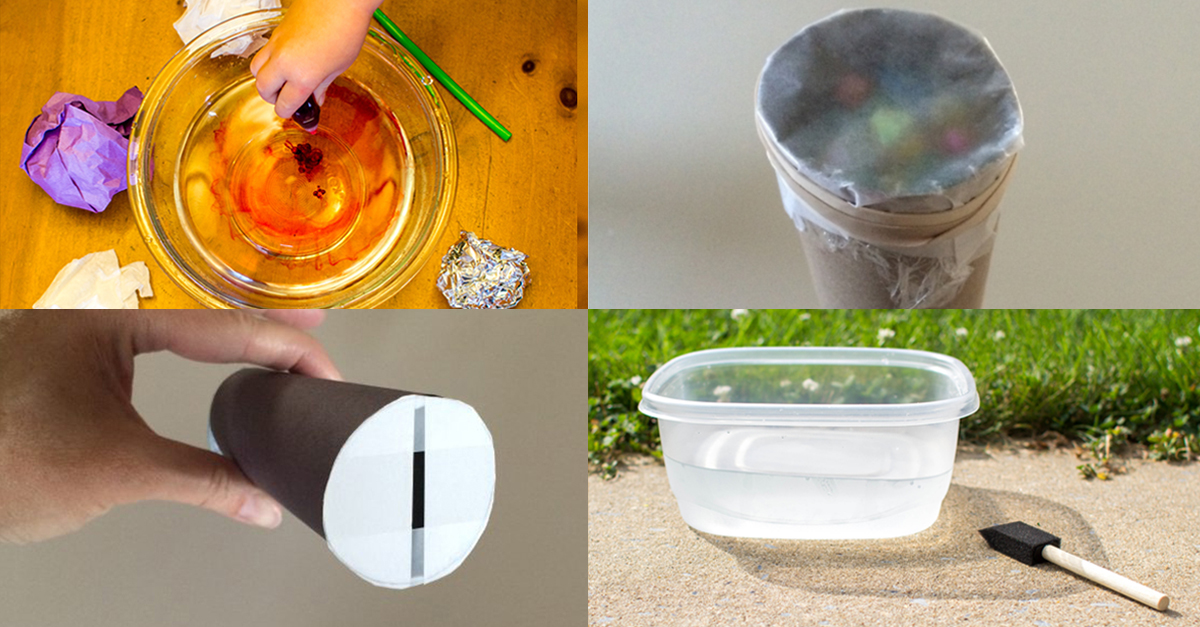
Design Your Own Spectroscope
An Experiment with Light
Light is an amazing tool for learning and experimentation. Make your own spectroscope to study some of the properties of light.
Focus: Science
Spectroscope: A spectroscope is an instrument used to break up light to show the light spectrum, just like a prism does. Make this scientific tool using recycled materials.
Materials
- Paper tube
- A blank CD
- 2 index cards (at least 3×5 inches)
- Pencil or pen
- Hot glue or quick-drying glue
- Scissors or utility knife
- Tape
- Paint or markers (optional)
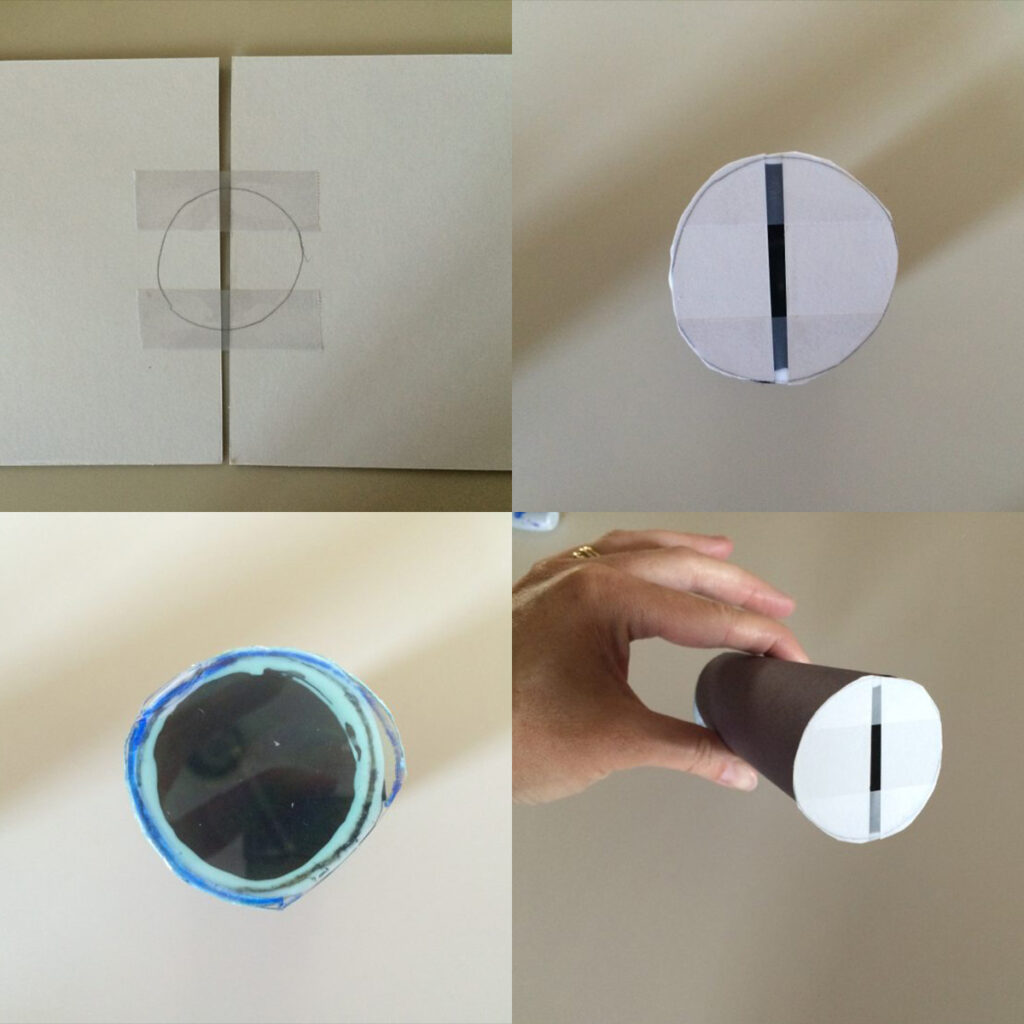
Directions
- On the reflective side of the CD, draw a circle off to the side, using the tube as a template.
- Use tape to remove the reflective layer from the CD. You may need to make a small scratch on the CD with a key or coin to get it started.
- Cut out the circle you drew on the CD.
- Tape the two index cards next to one another, leaving a small vertical slit between them.
- Place the paper tube on top of the index cards, centering the slit in the tube opening. Adhere the paper tube to the cards with glue. Trim the index cards so they are flush with the paper tube opening edge.
- Place the circle cut from the CD on the other side of the tube. Be sure the lines on the CD are parallel to the slit in the index cards on the opposite side. Glue the circle to the tube.

Optional: decorate the outside of the tube with construction paper, paint, or markers.
Note: Remind your child never to look directly at the sun. Look through the CD plastic toward a light source. The spectrum should appear on both sides (like the colors of the rainbow). Experiment with different light sources, which will produce different spectra.
Create your Own Colorful Patterns
A Kaleidoscope for Kids
Using the sun and light as the basis for this activity, enjoy creating your own kaleidoscope craft with simple materials. Watch as the sunlight bounces off the colored beads and sequins to create beautiful patterns when you look inside.
Focus: Science and Art
Materials
- 1 clear plastic report cover or 1 sheet of mirror board (available at craft stores or online)
- Paper towel tube
- Tape
- Scissors
- Plastic wrap
- Black construction paper
- Rubber band
- Sharpened pencil
- Small beads (translucent work best), sequins, confetti, or glitter
- Markers (optional)
- Stickers (optional)
- Duct tape (optional)
- Wrapping paper (optional)
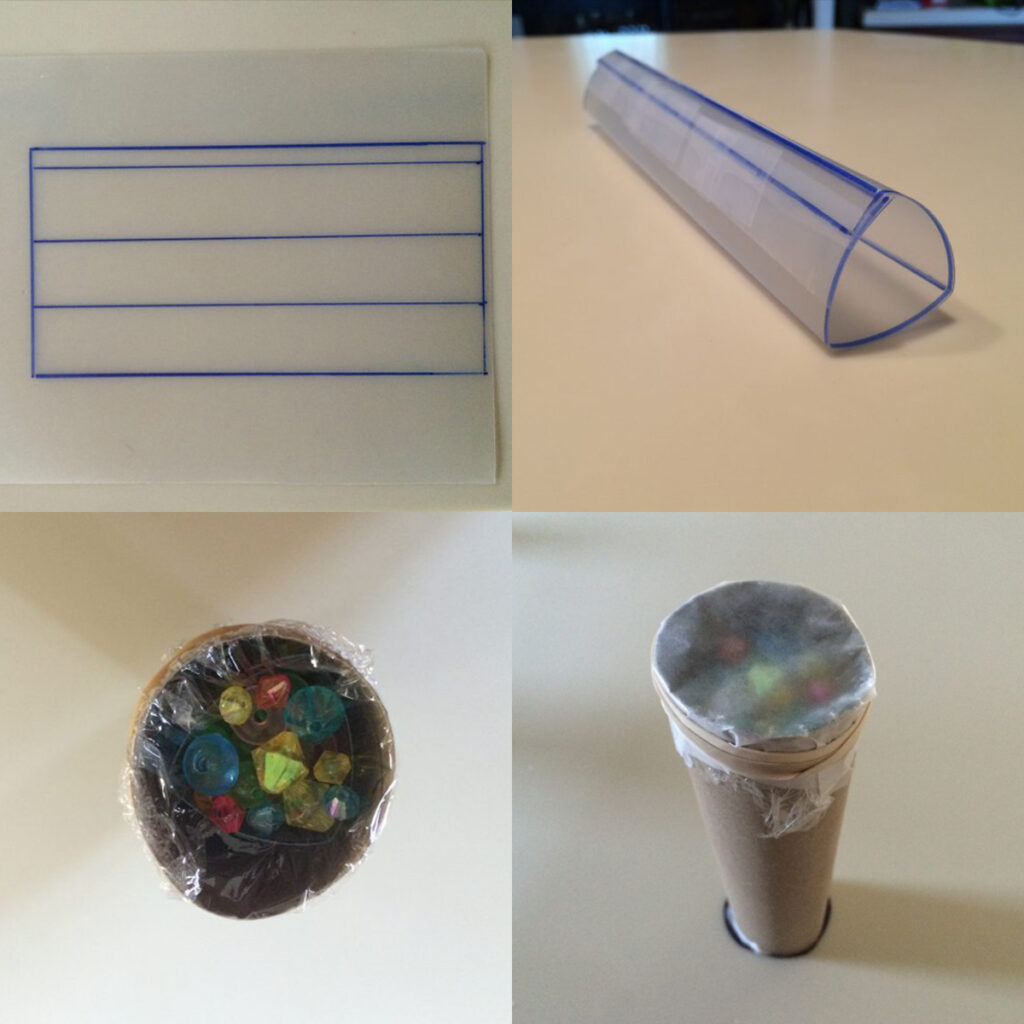
Directions
- Draw an 8 x 4-inch rectangle on the clear plastic report cover or mirror board.
- Draw three vertical lines across the rectangle, dividing it into three 1¼-inch rectangles and one ¼-inch rectangle.
- Cut out the large rectangle with scissors.
- Fold along the lines to form a triangular shape. The quarter-inch strip will be taped along the outside edge to help the triangle hold its shape.
- Slide the triangle into the paper towel tube. The tube may need to be trimmed down to meet the end of the triangular form.
- Stand the paper towel tube on end and draw a circle around it on a piece of black construction paper, slightly larger than the tube opening. Then cut out the circle and glue it on one end of the paper towel tube.
- Use the sharpened pencil to poke a hole through the center of the black circle.
- Cut out a 4-inch square of plastic wrap. Place the plastic wrap over the other end of the tube. Gently poke it down into the plastic triangle until it forms a small pouch. Be sure that the corners of the plastic wrap remain exposed. Fill the pouch with the translucent beads, sequins, confetti, or glitter.
- Cut out a 4-inch square of waxed paper.
- Seal the items in by placing the waxed paper over the pouch and down around the paper towel tube. Secure with a rubber band over both the waxed paper and the plastic wrap. Make sure the rubber band is on tight so the beads do not spill out.
Optional: Trim the corners of the waxed paper and plastic wrap.
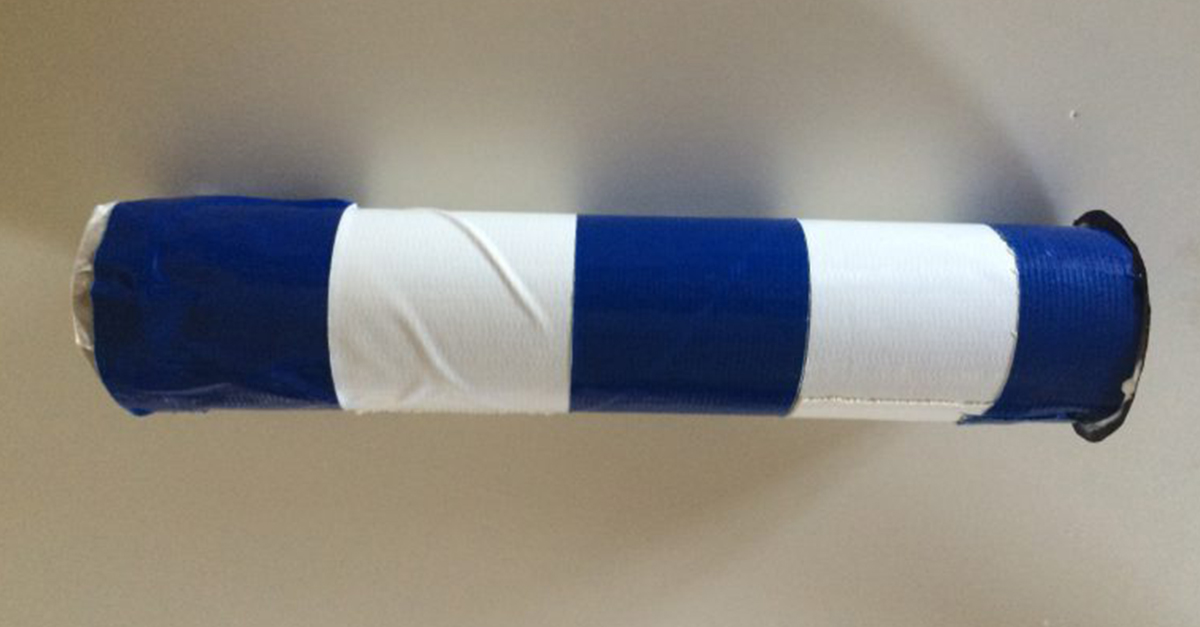
Optional: Cover the rubber band with duct tape for a decorative effect.
Optional: Decorate the paper towel tube with stickers, markers, duct tape, or wrapping paper.
Note: Remind your child never to look directly at the sun. Hold the tube up to a lighted area and look through the hole. Slowly turn the tube so the pieces inside move and the patterns change.
Briefly explain how the kaleidoscope works. A kaleidoscope operates on the principle of multiple reflections, where several mirrors or reflective items are placed at an angle to one another. Typically there are three reflective objects (usually mirrors) set at 60° to each other so that they form an equilateral triangle. The 60° angle generates an infinite regular grid of duplicate images of the original. As the tube is rotated, the tumbling of the colored objects presents varying colors and patterns.
Extensions
- Research to find out who invented the kaleidoscope.
- Research to discover different materials used to produce kaleidoscopes.
- Kaleidoscopes produce patterns, symmetry, and transformations. Further explore these mathematical concepts.
Fun Water Taste Test
A Summer Science Experiment with the Whole Family
Try this water tasting activity with your family this summer. Conduct a taste test to find out if the members of your family (and maybe even your friends) think that all types of water taste the same. Graph the results and draw conclusions. (Download graph paper here)
Focus: Science and Math
Materials
- Samples of water: tap water, seltzer water, bottled water, club soda, mineral water (flat or carbonated), distilled water, tonic water
- Cups
- Paper, graph paper, or poster board
- Taste Testing Form (1 per person, provided)
- Pencils, pens, markers
Directions
- Explain that your family (and maybe some friends, too!) will conduct a taste test of different types of water.
- Determine the different types of water that you want to include in the test.
- Gather samples of the water for the test.
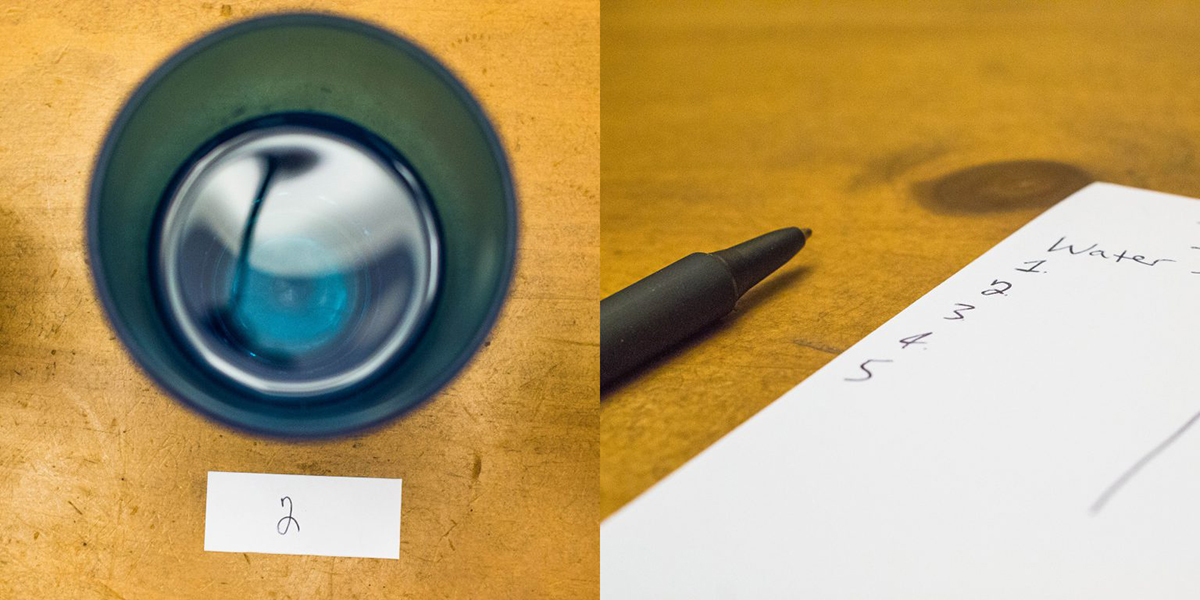
- Label the cups to distinguish them from one another (numbers, letters, or colored dots). One person should be designated to know which samples represent each type of water.
- Give each person a taste test form (or develop your own) to rank the water samples from favorite to least favorite throughout the test.
- Begin the activity by having each person observe each sample before tasting. Questions to consider are:
- How does the water look?
- Does it have an odor?
- Next, have each person taste one sample at a time. Have each person think about the taste and texture of the water. Questions to consider are:
- How does the water taste?
- How does it feel in your mouth?
- Circle the rating on the taste test form continuum for that sample.
- Discuss the results as a family. See some of the questions under “Extension” to get started.
- Reveal the type of water for each sample.
Extension
- Create a graph of the results. Your family can decide which type of graph would be best to display the data (bar graph, pictograph, circle graph, or line plot) and then discuss the following:
- Is there an overall favorite or dislike?
- Is there a tie?
- What characteristics of the water may have influenced your decision to rate a sample higher or lower on the scale?
- Might the container they are stored in affect taste? Why or why not?
- How could the experiment be improved?
- Research the different types of water that your family tested. Try to find information about how the water is collected, produced, and manufactured (i.e., what might be added, such as sodium, that could make them taste slightly different).

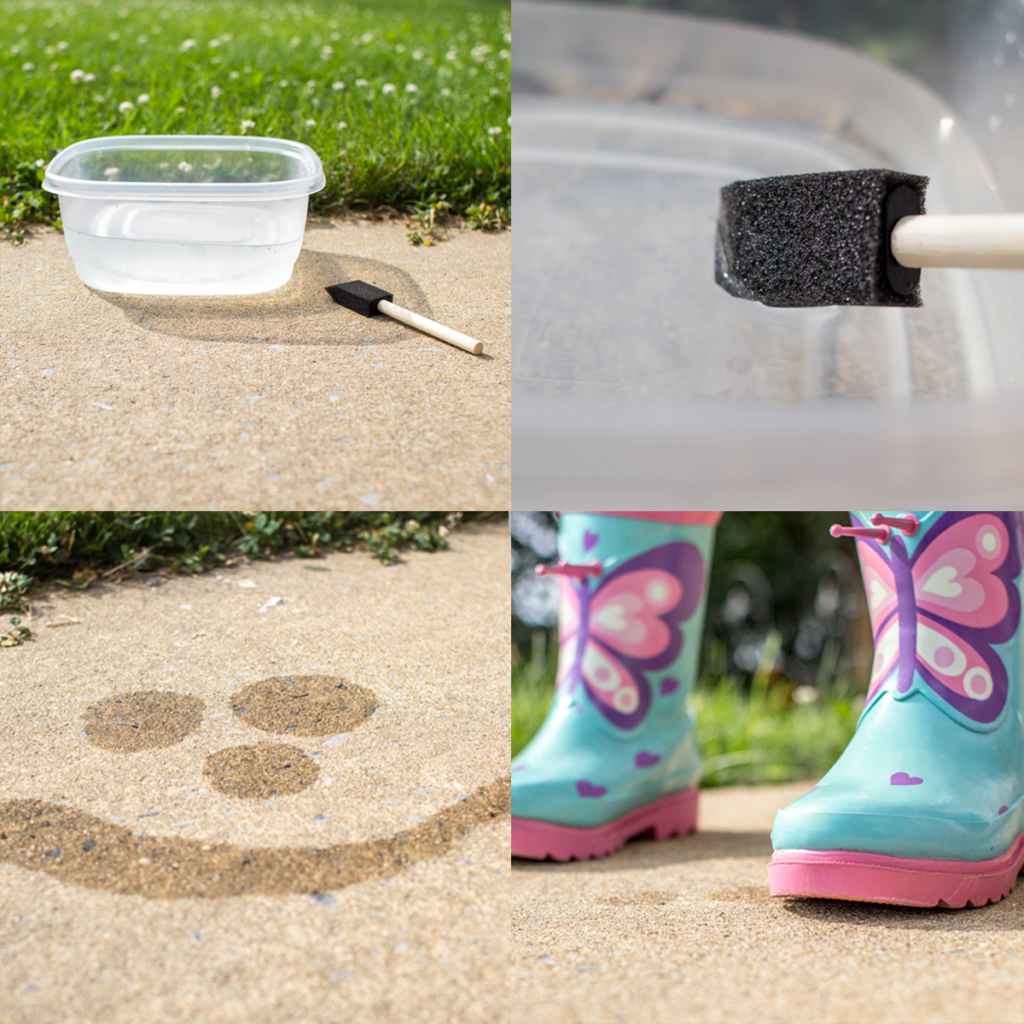
Evaporating Art
A Fun Outdoor Art Activity
Playing with water outside is a great way to have fun in the summer. Try this activity and experiment to see how sun, shade, and wind affect how water evaporates. This activity works best on a warm, sunny day.
Focus: Science and Art
Materials
- Paint brushes, sponge brushes, or sponges
- Bucket or open container to hold water
- Water
- Pavement or stone (playground, driveway, sidewalk, or large rocks)
Directions
- Dip a brush or sponge into the water and paint a picture on the pavement in a sunny area.
- Ask your child to predict what will happen in five minutes to this picture.
- “Act out” evaporation with your child. Have them follow along with you. Crouch down and explain that you are all the water molecules in the painting. Next, explain that the sun comes out. All the molecules start “getting excited” and “jumping” into the air. As you say this, stand up and jump into the air with your arms extended up and say “evaporate.”
- Ask your child the following questions:
- What do you see?
- Describe what is happening to the water.
- Is water soaking into the pavement?
- Is water evaporating? How can you tell?
- What do you think your painting will look like in _____ minutes? (Select a time you feel is reasonable here)
- Repeat the steps above, but have them paint a picture:
- on the same surface in a shady area.
- on the same surface in a shady area, but have them blow on it or fan it.
- Ask them what happened to the water painting. Discuss the differences they saw between p
Extension
- Have the child paint on the back of their hand or arm.
- Have them blow on the painting or fan it.
- Ask them the following questions:
- What is happening to the water?
- How does your hand/arm feel differently?
- Explain that when water evaporates, heat escapes with it. This is why their arm felt cooler when the air made contact with it. This is also why, when you come out of the bath or shower, your body feels cooler. As the water on your skin evaporates, some of your body’s heat goes with it.
- You can continue to experiment with different surfaces (pavement, siding on the house, a toy) to see what happens to the water.
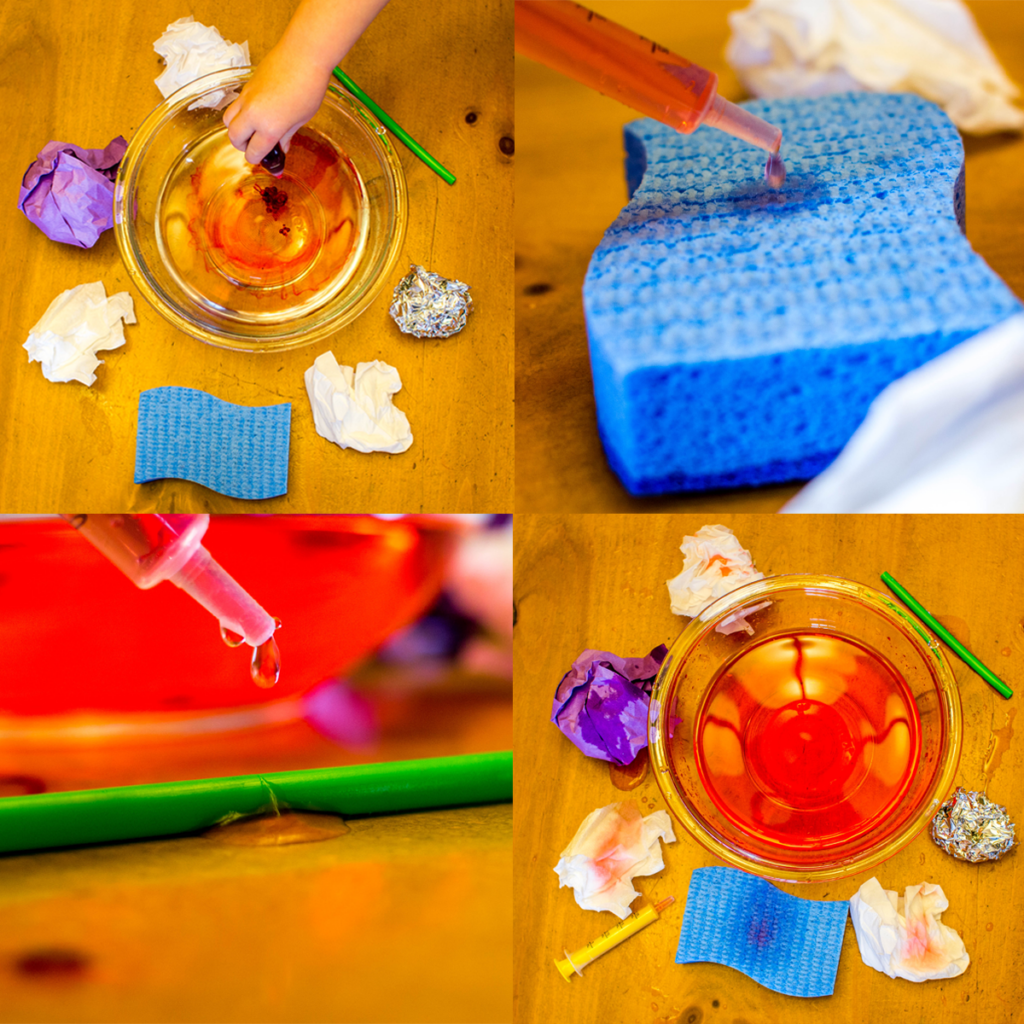
Will it Absorb Water?
An Introduction to the Scientific Method for Kids
Experimenting with water in the summer is an engaging way to learn about the steps in the scientific method. Help your student learn how scientists design their experiments while learning which materials do or do not absorb water.
The five steps covered in this experiment are:
- Ask a question
- Make a prediction
- Gather data
- Analyze your data
- Make a conclusion
Focus: Science
Materials
- 2–4 items that will absorb water, such as a paper towel, construction paper, sponge, piece of fabric, cotton ball, coffee filter, baby diaper, or tissue paper
- 2–4 items that do not absorb water, such as aluminum foil, foam, wax paper, plastic wrap, plastic straw, marble, or coin
- Medicine dropper or pipette
- A small bowl of water
- Food coloring (one color)
- A pan in which to test items, or place a small sample of each item in the sections of a muffin tin or ice cube tray
- Paper or a journal for writing down observations (optional)
Directions
- Explain the purpose of the experiment to your students, and have them help craft a question to be answered (for example, what material will absorb water?)
- Display the items to be tested in random order.
- Place a few drops of food coloring in the water. This makes the absorption easier to see.
- Explain that absorption is the act of taking in small particles through holes or small openings. Demonstrate this concept with a tissue or other item.
- Before testing each item, ask your child to predict if they think it will absorb the water.
- Have them place a few drops of water on each item, one at a time. This is gathering the data of the experiment.
- Ask them to describe what they see, and analyze the data they collected.
- When finished, review which items absorbed the water and which did not to make a conclusion. How many predictions did they get correct?
Extension
Place a stalk of celery (with the leafy greens attached), a leaf of cabbage (Napa works well), or a carnation in a jar or vase full of colored water to demonstrate water absorption in plants. Have your child predict what will happen. Check back daily to observe changes. It may take a few days to see the full effect.